Installation Guide
Installing Your NaturaLux
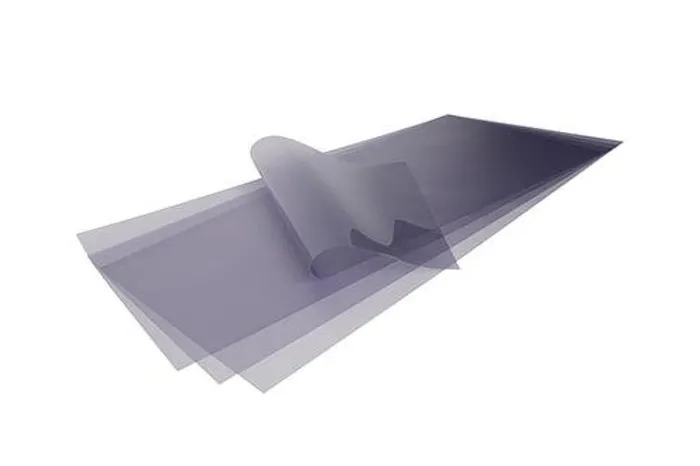
Light Filters
Choose your fixture type
Not sure which install method applies? Try the filter finder
Fluorescent Flat Panels
Parabolic (grid) and prismatic (plastic lens) ceiling fixtures
View installation guide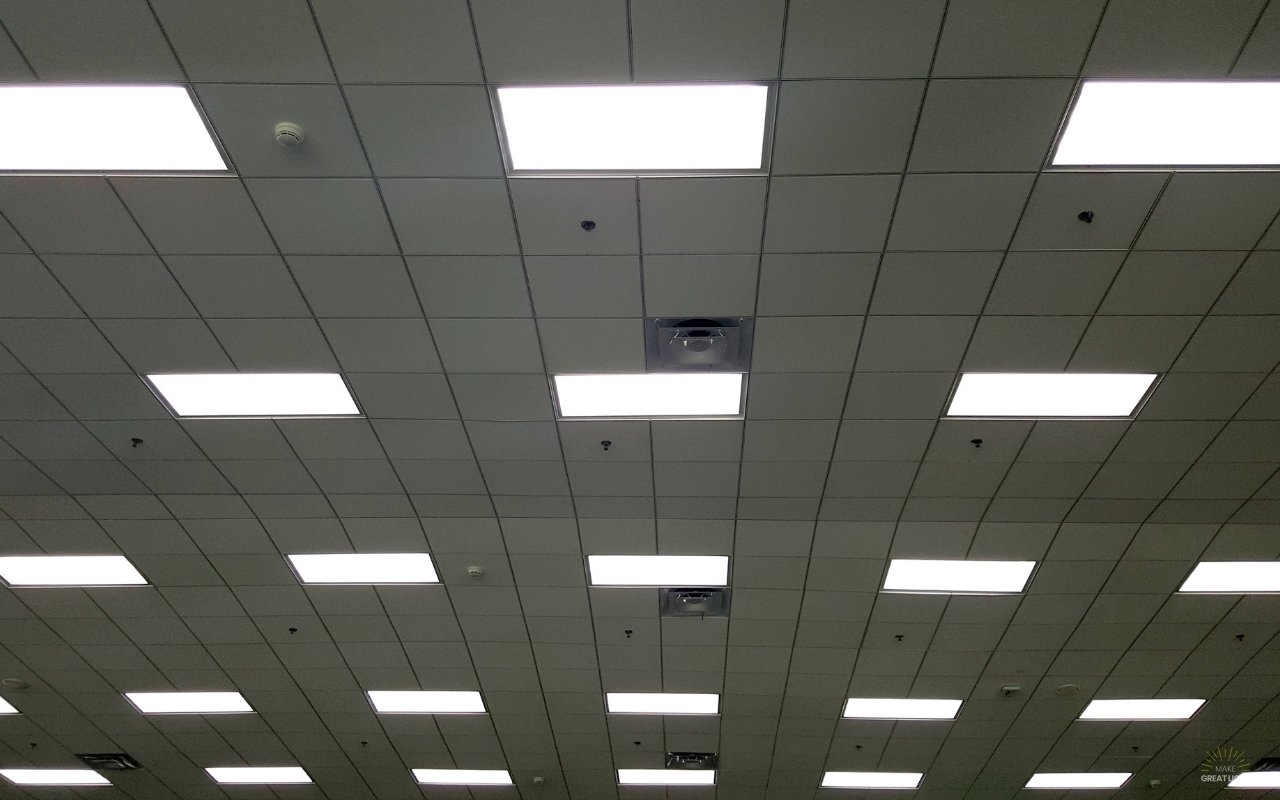
LED Panel Fixtures
Flat LED panels and curved LED fixtures (removable or fixed cover)
View installation guide
Tube Covers
T5, T8, and T12 suspended fixtures and strip lights
View installation guideSafety: Turn off your light fixture before removing bulbs to prevent electrical shock. Always stand on a sturdy surface or ladder, not a rolling chair.
T5 HO bulbs: Do not use tube filters on T5 HO (high output) bulbs. They generate too much heat. Use overlay panels instead.
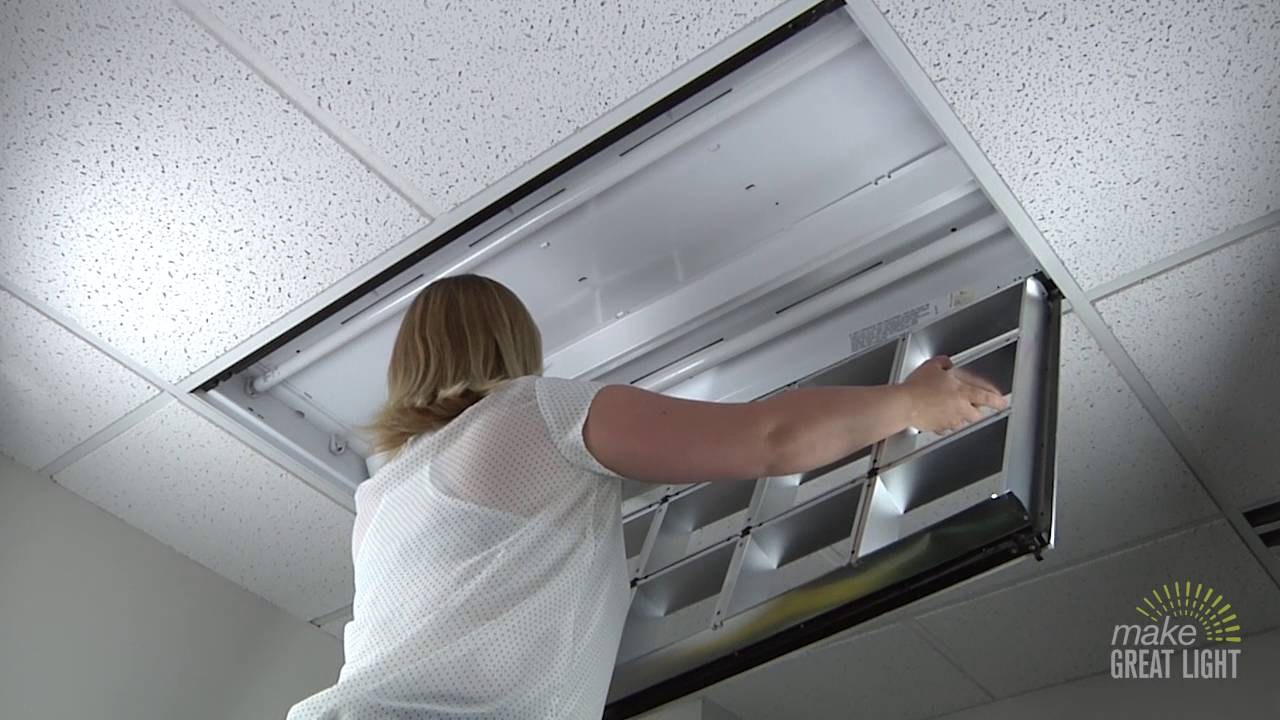
Fluorescent Flat Panel Light Covers
Light fixtures vary greatly from manufacturer to manufacturer. While slightly more complex to install than tube filters, the overlay filter only has to be installed once and never has to be removed when changing fluorescent bulbs.
Which fixture do you have?
Tips for installing fluorescent light covers
-
Measure twice
Per your light fixture manufacturer's instructions, open the door for the light fixture. Some fixtures are hinged on one side and have release tabs on the other.
Once the door is open, measure the inside dimensions (length and width) of the fixture. The fluorescent light filter will lay on top of the parabolic, between the bulbs.
While you have access to the light fixture, this is a great time to inspect the bulbs. If your bulbs are darkened at the ends, the bulb is probably near end of life. Replace the bulbs before continuing. Bulbs that are near end of life generate a lot of heat, which could damage your filters.

-
Cut once
Lay your fluorescent overlay filter on a flat surface and tape it in place. Transfer your measurements to the overlay filter using a long straight edge. Using scissors, a sharp razor, or X-Acto knife, cut the filter to size.
If using a razor or X-Acto knife, make sure you don't damage the surface underneath the filter.

-
Tape into place
Before taping into place, make sure the reflective side is UP toward the bulbs. This will make cleaning off dust and dirt easier in the future.
Parabolic overlays
Tape each corner, ensuring that the filter is square with the fixture to keep it in place.
Prismatic lenses and diffusers
Align the overlay panel on the lens and tape into place.
We recommend a clear tape, such as Scotch Clear Tape.

-
Close it up
Once the overlay filter has been positioned and fastened with tape, close the fixture according to your manufacturer's instructions and enjoy your natural, full-spectrum light for years to come. Since our products are 100% recyclable, please dispose of your scraps in the nearest plastic recycle bin.
Flat Light Covers — LED Installation
Before installing, check whether the curved cover is removable. The method differs depending on your fixture type.

For Curved LED Fixtures
Check if the curved cover is removable first
Install the filter inside the cover by cutting to size and taping in place.
- 1 Remove the curved cover.
- 2 Fit the filter into the curved cover so one edge is flush with the cover.
- 3 Temporarily tape the filter on the edge to hold in place. Form the filter to the shape of the cover.

- 4 Draw a line with a Sharpie to indicate the width and another to mark the length.
- 5 Cut the filter on the line. Test the fit. If good, use as a template for remaining filters.
- 6 Tape the filter in place (shiny side faces the light, matte side faces the floor) and reinstall the cover.
You may be able to "double up" on filters. Installing two filters per fixture further reduces light output.
Affix the filter to the outside metal frame using magnetic or double-sided tape.
- 1 Affix either double-sided tape or magnetic tape to the shiny side of the filter.
- 2 Attach the filter to the metal frame on the outside of the light fixture.
Tip: it is easier to align one corner first.

For Flat LED Panels
- 1 Affix either double-sided tape or magnetic tape to the shiny side of the filter.
- 2 Attach the filter to the metal frame on the outside of the light fixture.
Tip: it is easier to align one corner first.
Tube Cover Installation
Tube filters simply slide over your current bulbs. Please be safe when removing fluorescent bulbs.
Turn off your light fixture to eliminate the chance of electrical shock. Always stand on a sturdy surface or ladder, not a rolling chair. Handle bulbs with care.
Tips for installing fluorescent light tube filters
-
Remove bulbs
Per your light fixture manufacturer's instructions, open the door for the light fixture. Reach up with both hands and grab the bulb as close to each end as you can. Gently twist the bulb about 1/4 turn either clockwise or counterclockwise. The pins on both ends of the bulb should now be aligned up and down. The bulb should now be easily taken out of the fixture.
Before you remove the bulb, it's a great time to check for end of life. If one or both ends of the bulb are black, you may want to consider replacing the bulb as it is losing its efficiency.
-
Install tube filters
Slip the fluorescent light tube cover over the bulb. Then attach both end caps over the end of the bulb, ensuring they are completely over the ends of the tube filter.
Important: You must install the end caps. They keep the filter off the light bulb, eliminating the chance of the filters melting. -
Install the bulb back into the fixture
For 4' bulbs: Grab the bulb again with both hands, close to the ends and with the end pins in a vertical position. Gently slip both pins back into the light fixture ends. Ensure that both pins have slipped into the end pieces. Grasp the filtered bulb firmly with both hands and twist it about 1/4 turn either clockwise or counterclockwise to secure the bulb.
Make sure you are grasping firmly enough so you are turning the bulb and not just rotating the tube filter.
Close your fixture per your manufacturer's instructions.
Ready to Order?
NaturaLux filters are available for all fixture types. Find yours below.
Fluorescent Panels
Fluorescent Light Covers
Fits parabolic and prismatic grid fixtures. Cuts to any size.
Shop Fluorescent Covers LED Panels
LED Light Covers
For flat LED troffers and curved LED fixture types.
Shop LED Covers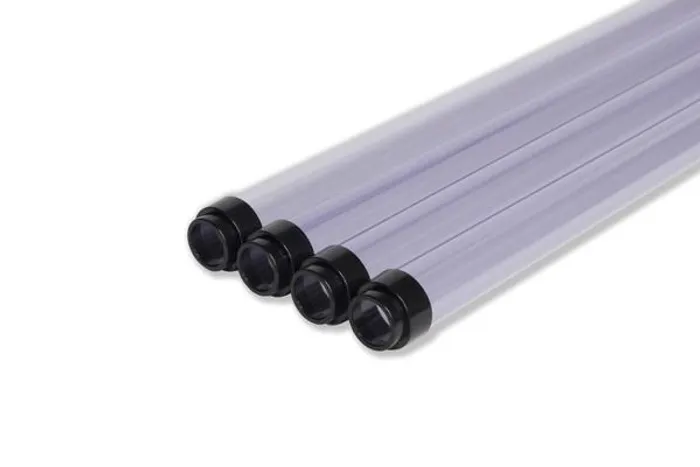
Tube & Strip Lights
Fluorescent Tube Covers
Slides directly over T5, T8, and T12 lamps. No tools needed.
Shop Tube Covers